Hey guys,
Am back with another.. A card on order for a client.. A new baby is about to bless their family and they wanted a card in which everyone from the family would be writing messages for the new born.. Since we do not the sex of the baby I kept it a neutral color so that it could be gifted to a boy or a girl.
A new baby brings so much joy into the house. So keeping this in mind, I have used a lot of bright colors ( I am anyways a bright color addict).. There really isn't much to say about this.. As they say a picture speaks a 1000 words so am gonna show off the box with a lot of pictures.
the lid
side view
opposite panel
Open view of the box and the lid
a pram
a better view of the pram
a tri fold card
tag pocket
This is a tag which would be stuck to the flap
note card 1
note card 2
note card 3
note card 4
Another tag pocket
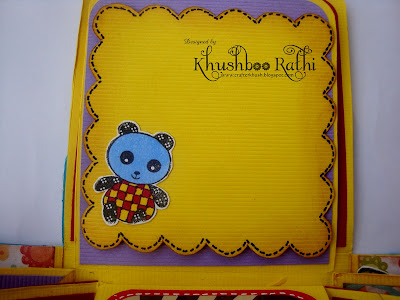
some mush
Some more mush
And finally
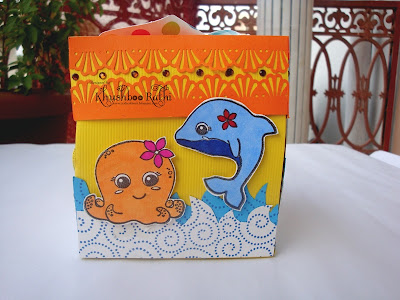
Ok, let me describe the explosion box in short. it has three layers. The bottom layer has the giraffe tag pockets on opposite sides and two pane;s of handwritten mush. Outside I have done a sea themed look with dolphins, crabs and octopus. The lid has a cute pinwheel. I love making pinwheels.
The second layer has tag pockets on two panels and detachable tags on two panels. Teh back side has 4 note cards on each panel. The top most layer has 2 panels of detachable tags and two panels of mush. The back side of the last panel has tag pockets and tri-shutter cards on the opposite sides. The centre has the pram.
I loved making the pram. Thanks doc for the amazing tutorial. It was only after seeing your pram was inspired to try making one for my own. Dr. Sonia is an amazing crafter and has some amazing tutorials up on her blog. DO go and check her blog here. Be ready to be blown away.
Supplies used:-
Card stock=> Fabriano Elle Erre
PP=> Echo Park, Paper Mania, Studio Calico, RAK from Jovi and an ICR swap from Bindu
Stamps=> Inkadinkado baby animals, Hero Arts Playful Animals, Studio g mini stamps,mini stamps from imaginiscence and paper smooches chubby chums
Embellishments=> Handmade stickers locally puchased, brad from basic grey, google eyes, bling from stash, button on pram from stash
MS Deco shells around the page punch
Vintage photo distress ink
Memento Dew drops ink and Unity ink
Coloring medium=> BIC markers and Staedler water color pencils.
Entering this for the following challenges=>
For the love of crafting=> color Bing(Purple, yellow and pink and pink blue and red)
Itsy Bitsy=> Big B challenge(I have brad, buttons and bling)
Thanks for dropping by... Your comments are highly appreciated. Have a fantastic Sunday and an awesome week ahead.
Hugs,
Khush


